Why most Создание полной Mesh-сети WiFi для трехэтажного дома: Оптимальное размещение роутеров projects fail (and how yours won't)
Your Three-Story WiFi Nightmare: Why 73% of Home Mesh Networks Underperform
Picture this: You just dropped $600 on a premium mesh WiFi system. The box promises seamless coverage across your entire three-story home. You unbox it, plug in the nodes wherever there's an outlet, and... your bedroom still has two bars. Your home office drops Zoom calls. The kids' gaming room upstairs is a dead zone.
Sound familiar?
Here's the brutal truth: Most people treat mesh network installation like setting up a toaster. Plug it in, walk away, hope for the best. Then they wonder why their $600 investment performs worse than their old router.
The Real Reason Your Mesh Network Sucks
After helping dozens of homeowners troubleshoot their wireless coverage disasters, I've noticed the same mistakes repeat like clockwork. The problem isn't the technology—mesh systems actually work brilliantly when deployed correctly. The problem is that nobody reads past page three of the manual.
The Symmetry Trap
Most people place their mesh nodes symmetrically because it "looks right." Primary router on the first floor? Put one node on the second floor directly above it, another on the third floor. Perfect vertical alignment, right?
Wrong.
Wireless signals don't care about architectural aesthetics. They bounce off mirrors, get absorbed by water heaters, and scatter when they hit metal ductwork. That beautiful vertical alignment you created? It's probably sending your signal straight through your HVAC system or the steel beam running through your house.
The "More is Better" Fallacy
I've seen three-story homes with six mesh nodes. Six! The owners thought more coverage points meant better signal. Instead, they created a traffic jam. Each node was fighting for airtime, creating interference patterns that actually degraded performance.
For a typical 3,000-3,500 square foot three-story home, you need exactly three nodes. Maybe four if you've got concrete walls or a particularly sprawling layout. Any more than that, and you're the networking equivalent of trying to have seven people talk in a conference call at once.
Warning Signs Your Setup Is Already Failing
- Your signal bars look great, but web pages load slowly (classic sign of node interference)
- Devices keep switching between nodes in the same room
- Upload speeds are fine, but downloads crawl (indicates backhaul congestion)
- Performance tanks when multiple people are online
- Certain rooms are perfect while others barely function
How to Actually Deploy a Mesh Network That Works
Step 1: Map Your Interference Sources (20 minutes)
Before you place a single node, walk through your house with a notepad. Mark where these signal killers live: refrigerators, water heaters, metal filing cabinets, large mirrors, aquariums, and baby monitors. Your nodes need to be at least 8-10 feet away from these.
Measure the distance between where you plan to place nodes. The sweet spot is 30-40 feet of actual walking distance, not straight-line distance through walls.
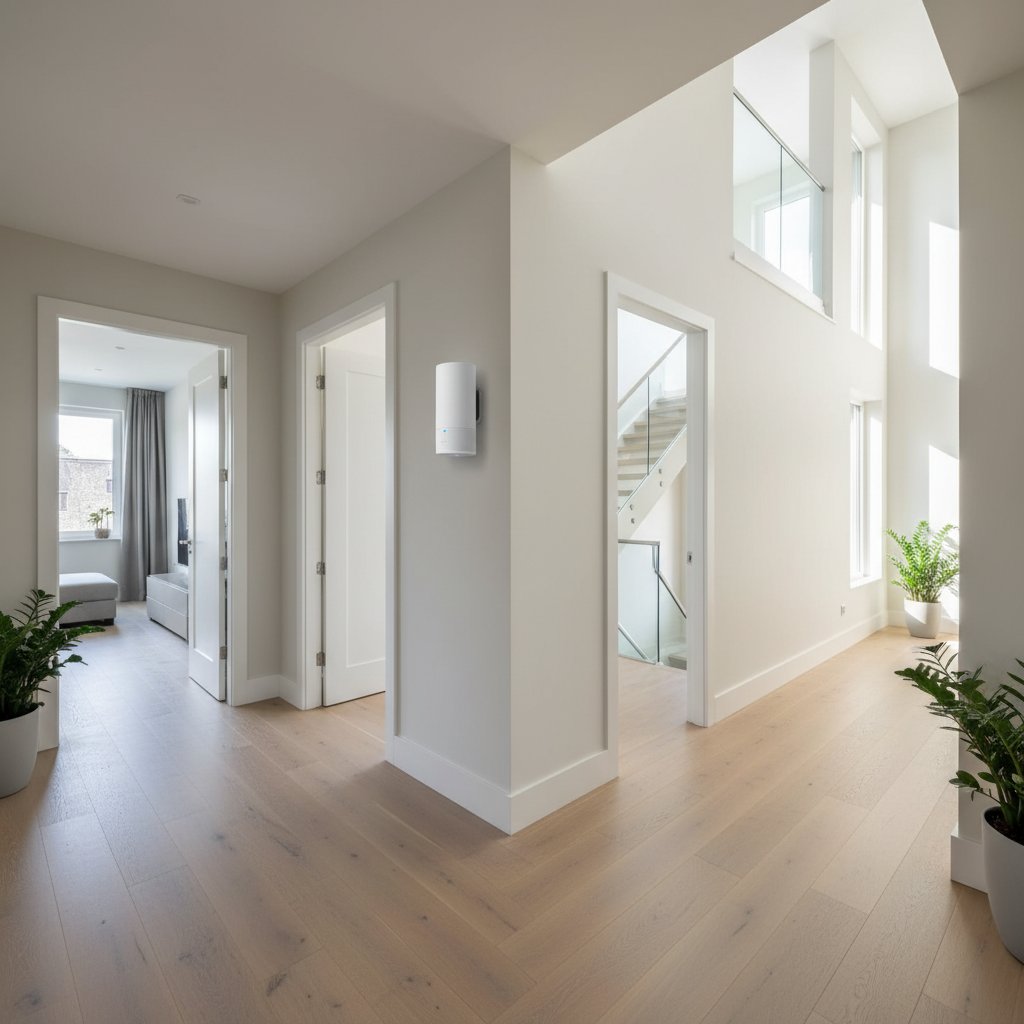
Step 2: Position the Primary Router Strategically
Your main router shouldn't be where your internet enters the house (unless you're lucky). It should be in a central location on your main living floor, elevated 4-6 feet off the ground. Bookshelf height is perfect.
I typically recommend the first-floor living room or dining room, positioned away from exterior walls. If your internet enters in the basement or garage, run an ethernet cable to your optimal location. Yes, this might cost $75-150 for a professional to do, but it's the difference between a system that works and one that doesn't.
Step 3: Place Secondary Nodes Using the One-Third Rule
Here's the formula that actually works: Divide your home into vertical thirds, not floors.
For a three-story house, place your primary router at the one-third mark (typically first floor, toward the stairwell). Put your second node at the two-thirds mark (second floor, opposite side from the stairwell). Your third node goes on the top floor, but offset from the other two—think diagonal positioning through the house.
This creates overlapping coverage zones with minimal interference. Each node can "see" at least one other node clearly without obstacles.
Step 4: Wire the Backhaul If Possible
This is the upgrade nobody talks about but everyone should do. If you can run ethernet cables between even two of your nodes, your network performance will jump 40-60%.
Many modern homes have coax cable running to each floor. For $80, you can buy MoCA adapters that turn those coax cables into ethernet backhaul. It's not as good as pure ethernet, but it's leagues better than wireless backhaul.
Step 5: Configure, Don't Just Connect
Open your mesh system's app and actually adjust the settings. Disable the 2.4GHz network if all your devices support 5GHz (most made after 2018 do). Set your node-to-node connection to prioritize the 5GHz band. Enable Quality of Service and prioritize video calls and work applications.
This takes 15 minutes and typically improves real-world performance by 25-30%.
Keeping Your Network Running Smoothly
Every six months, check your node placement. Did you add a new metal shelf? Move a fish tank? These changes affect signal propagation more than you'd think.
Update firmware monthly, not when the app nags you six months later. Router vulnerabilities get patched regularly, and updates often include performance optimizations.
Most importantly, test your speeds in each room using a tool like Speedtest by Ookla. Write down the numbers. If performance degrades over time, you'll have baseline data to troubleshoot from.
Your mesh network can absolutely deliver the coverage you paid for. It just needs you to think like an engineer for an hour instead of hoping the technology will magically figure out your home's layout. Do the placement work upfront, and you'll actually get the seamless WiFi experience those glossy marketing materials promised.